3D Word Dies
I looooove this week's tutorial - I had so much fun coming up with samples and variations to really give word-shaped dies an extra POW. Here are the samples I made for the video and photo tutorial, which you can view HERE. All the stamps and dies I used are from Impression Obsession.
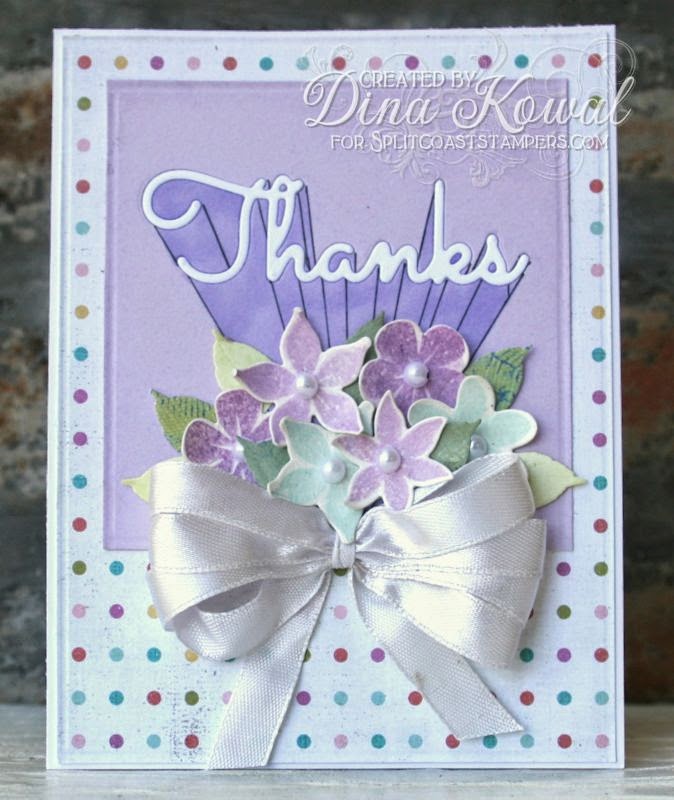
This card shows the basic technique for using a single word die... I used the Thanks Word die as my focal point, then used the Bunch of Blossoms set and Small Leaf set for the bouquet. The flowers are stamped with Versamagic chalk ink.
For the second card, I showed a variation on the technique using 2 dies, one above the other. This is the Happy Birthday Word set, and I also used my Feathers dies.
Here I used the negative cuts from the previous card in a little different orientation, with the lines going two different directions. The star dies are from Quickutz.
Finally, a simpler version, with parallel lines. The bicycle is from a favorite clear set called Riding Pretty, which has a new accompanying die set . I used a couple of Spiral Flowers and the Leaf Cluster die to fill the basket. The stamped image is painted with reinkers.
Hope you'll check out the tutorial and give it a try!


These cards are just stunning Dina. I just watched the video on how you did this and I can't wait to try it out.
ReplyDeleteNow I just might try some of this. All of the cards a special. Love every one of then.
ReplyDeleteI love all these cards ! It's a great idée !
ReplyDeleteI loved this technique when I saw Betsy Veldman do it last summer on a PTI Make it Monday video. I didn't have any word dies then so thanks for reminding me about it. I have a few word dies now so I think I'll give it a whirl.
ReplyDeleteThis is SO cool! Thanks for sharing idea. I may try it for a M&T at an Autism Crop this next Sat.
ReplyDeleteDina, you still amaze me! A great tutorial to create a wonderful look! Love it! Gotta try it soon!
ReplyDelete