Showing posts with label acrylic paints. Show all posts

Friday, May 05, 2023

Spring Coffee Lovers Blog Hop - Super Sponsor!

It's time for the Coffee Lovers Blog Hop, and I'm honored to be a Super Sponsor again! Keep reading to find out how you can win one of two handmade prizes, and receive a special coupon code for my online store!


In case you're new to my blog, I'll tell you a little about me.  I adore Winnie the Pooh, randomly burst into song, and love fun socks. I'm a working artist (see my commissioned pet portraits HERE), have my own line of stamps, papers and stencils at Impression Obsession, and I'm the Artist in Residence at Splitcoaststampers. I have an online store where you'll find prints of my original artwork as well as notecards, jewelry, upcycled bags, and other items. I've been blogging here since 2006 and I'm a serial creator!
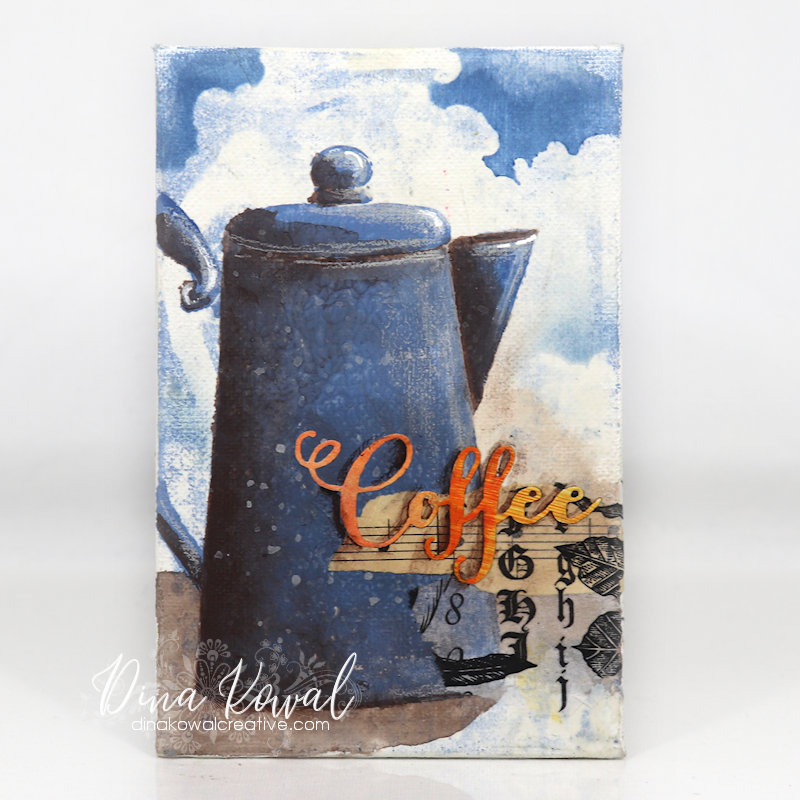
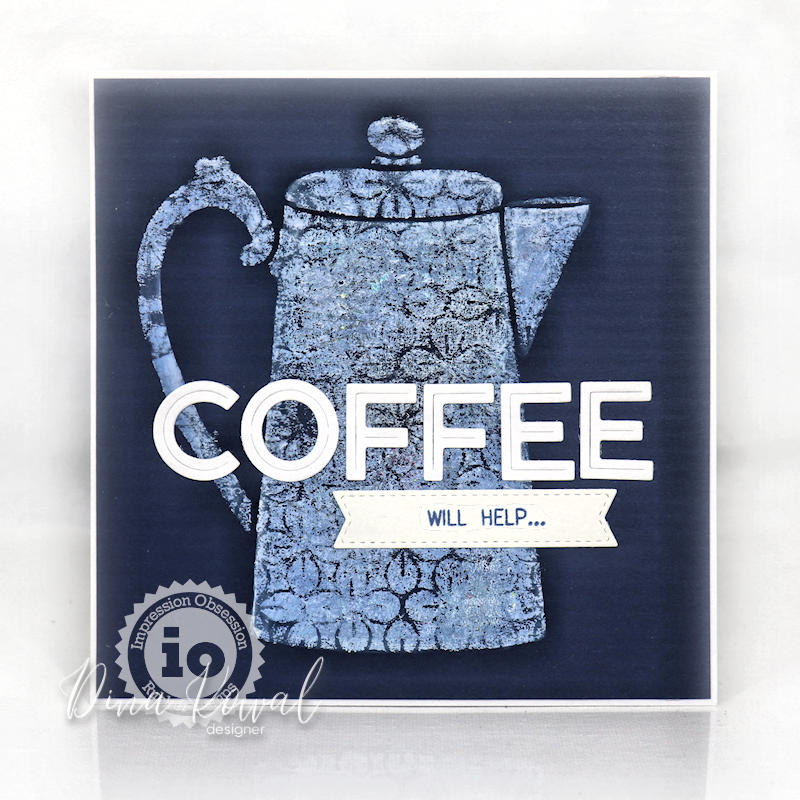

I had started this little canvas a few months ago when my coffee pot stencil was released - it began with a gel print and needed more layers and some touch ups. I filled in the image base with the same acrylic paint, then shaded with brown acrylic paint and added highlights with a colored pencil and acrylic paint pen. I painted in a shadow and horizontal line, then used matte gel to add in a couple of paper scraps and a die cut word. I used a Pitt pen to shade around the die cut, then stenciled in the clouds in the background. (I'm hosting the Mix-Ability challenge today at Splitcoaststampers, and the theme is Clouds in My Coffee! Perfect.)  One lucky commenter will win this mini canvas (4" x 6")!


Products used:
Coffee word die - Verve Stamps (retired)

This week be sure to check out my Etsy store for coffee themed items and more - prints and necklaces make great gifts! I've got glue pins and craft and coffee themed purse charms as well (contact me about custom designs too!). Clicking the graphic below will add a 20% coupon to your cart when you spend $20 or more. Thank you!


use code COFFEE20 for your discount!

My 2nd prize this week is a handmade mini tote bag in a coffee theme! My bags all feature upcycled, vintage, and thrifted textiles - this little bag is made from some leftover quilt scraps and kit pieces, thrifted strap and fabric, a valance, a pant leg, and some upholstery samples. The bag is about 10.5" wide with a 3" base - great size for some books or a project on the go.


FOR A CHANCE TO WIN ONE OF MY PRIZES: 
Please leave a comment on this post by May 12 at 9 pm Central! The first name I draw will get to choose their prize. Don't forget to come back here to see who my winners are!

Thank you for visiting me today - you will find all the Coffee Hop details you need HERE

Thanks for stopping by!

When you shop through the affiliate links used here, the company sends a small commission my way at no cost to you as thanks for the referral.
It's a lovely way to partner with these companies that mean so much to our creative community. Everybody wins!


Ideas, Supplies, Machines, Paper & More

Monday, March 06, 2023

Impression Obsession product focus: Stencils

The Impression Obsession team has some projects to share today featuring our stencils! It has been fun to see this product line grow, and to be a designer of stencils you can use on your own projects! I would love to know which are your favorites, and if you have requests please let me know!

I used 2 stencils to make this card - I brayered white acrylic paint onto my brayer, removed some of the paint lightly by pressing the floral stencil into the paint and lifting it away, and then masking the paint with the coffee pot stencil before taking my print. Once the paint was dry, I went in with a white colored pencil to define some of the edges and add highlights to the printed image.
I love this bigger-scale image - I have a habit of buying old wood items with the intention of painting on them, and I think these larger images will make a great beginning for a painted vignette - if I ever get around to actually doing the painting! The texture down the side of the stencil can be used as coffee grounds or as the texture on the old enameled tinware.

IO Products:


Be sure to check out the other designers' blogs for inspiration - see the I.O. blog for all the details

Thanks for stopping by!

When you shop through the affiliate links used here, the company sends a small commission my way at no cost to you as thanks for the referral.
It's a lovely way to partner with these companies that mean so much to our creative community. Everybody wins!


Ideas, Supplies, Machines, Paper & More

Wednesday, March 10, 2021

Splitcoast Tutorial: Faux Book Stack

This week's tutorial over on Splitcoast is a Faux Book Stack - this is a sweet take on the popular farmhouse decor item, but without books! The tutorial sample is done with a mini crate, but they were sold out at my Dollar Tree, so I improvised with a few household items instead. 

I wanted my box to be 6" long, 3" deep and 3" high, and by coincidence the Cheerios box we had was 3" on the side, so I used that for my base, and some of the score lines were already done for me! The larger piece here is 9"x12" scored at 3" on each side, and the little lid is 5" x 8", scored at 1" on each side. 
Here's the box before I glued it all together - the ends are triple thick and very sturdy! My son was home from school, so I had him saw my little craft sticks to size - these are 1" wide and 8" long, and he cut 3 of them to 6" lengths for the book spines, and then cut six 3" lengths for the sides.
I glued the wood pieces to the front and sides of the box. 
There were some gaps where the wood pieces met, so I used modeling paste to fill in and shape the corners there, sanding lightly before I went ahead with the painting. This picture was taken mid-process - I added more and smoothed around the corner before it dried.
Here's a closer look at the finished painting - I used solid colors for each book, then did a little one-stroke painting using brown and a floating medium to do the edging. (One stroke painting loads 2 colors onto the brush - Donna Dewberry does beautiful work with this technique, and I used to enjoy her books years ago!)
I thinned some paint and did a little dry brushing on the "pages". I wasn't sure how the modeling paste would do since it was a little rough, but it ended up looking like shelf-worn book covers. Win! I don't remember the source of the alphabet stamps - I think they came from Michaels many years ago. I stamped from right to left, so at one point the stamping said "create inspire eat". Not a bad idea either.
I pulled together a little faux greenery, some retired paintbrushes, and a matching pencil for the top! That ribbon is from Walmart and I bought it to wrap boho beads, but I haven't quite gotten that down yet, and it worked so well here. The gold border stickers are leftover from my DT days at Flower Soft - they're a fun little accent.

I am so happy with how this turned out! If you can find the little crates at the Dollar Tree do try those, but if not - grab a Cheerios box!

Thanks for stopping by!


Ideas, Supplies, Machines, Paper & More

Wednesday, December 02, 2020

Impression Obsession - Die Cut Obsession

There are so many amazing dies at Impression Obsession - this special Wednesday feature lets them have the spotlight! We hope you're inspired! My die cut card came together really quickly - the background was made with some leftover acrylic paint from another project, and I stenciled the snow with modeling paste using this stencil from ACLD


The deer were 'smooshed' in Distress Oxide ink, and then watercolored to add more detail and shading. I love the curves in this beautiful die set by Alesa Baker.

DIE306 Deer & Doe


The sentiment I used is available in a clear set HERE or in red rubber HERE - such a simple and sweet, all-inclusive happy greeting.

Be sure to check out the other designers' blogs for die cutting inspiration - see the I.O. blog for all the links and details! Have a great week!

Thanks for stopping by!


Ideas, Supplies, Machines, Paper & More

Monday, September 07, 2020

Impression Obsession - Old is New

With such a huge collection of wonderful stamps from so many artists, sometimes the older stamps in the Impression Obsession catalog find their way out of the spotlight. We don't want them to be forgotten, so we like to feature them regularly. We hope you're inspired! 

L13201 Lanterns
C13305 Expect Miracles

For a quick card today, I pulled out a gel print from my stash, and stamped the lanterns image over the top. I used a little diluted acrylic paint to add grey shadows, some white highlights and some tiny white dots to the ropes, and that was it! 


Be sure to check out the other designers' blogs for inspiration - see the I.O. blog for all the details!

Thanks for stopping by!


Ideas, Supplies, Machines, Paper & More

Monday, August 31, 2020

Impression Obsession - Die Cut Obsession

There are so many amazing dies at Impression Obsession - this special Monday feature lets them have the spotlight! We hope you're inspired!


I've been trying to think of ways to use my dies with polymer clay, and a video I watched triggered an idea this week! Bless the maker's heart, she cut a full background design out of fun foam by hand! Inspired by her idea, I cut this die out of fun foam:

DIE953-YY Embroidered Flowers

Here's the sheet:


I prepared some black polymer clay, rolled it out, and pressed the foam sheet into the clay using an acrylic roller. It created a deep and pretty pattern. I cut 4 large circles and 4 small ones using metal cutters, and covered them with silver metallic paint.


I baked the pieces according to the package directions...


I sanded the raised areas to let the black clay show through, then did a little dry brushing with some various acrylic paints. I drilled holes in all the pieces and attached them with jump rings. I love how they turned out! 


I've added them to my Etsy store in case they might want to be yours! 

Be sure to check out the other designers' blogs for die cutting inspiration - see the I.O. blog for all the details! Have a great week!

Thanks for stopping by!


Ideas, Supplies, Machines, Paper & More

Monday, August 10, 2020

Christmas Foiled Basics collection by Yana Smakula

One more Spellbinders post! Yana Smakula has a new holiday collection of foiling plates, and invited me to share a project - this is the Winter Village set!The base of my card is a piece of backing board that I ordered from Clearbags to use in my packaging when I mail prints - it's a cheap, textured board about the thickness of matboard. I pressed the foiling plates into the board without foil, using my die cutting machine. 
Next I brayered acrylic paint onto my Gel Press and pressed the board into the paint. Since the village images were impressed into the board, they remained white.
I used white gesso to add in some highlights to the scene, and I used colored pencils for shading and details.
With a pencil, I added a curved line below the lodge to create a frozen pond in the center of my scene. I used a ball stylus to dot in a few more snowflakes.
This whole collection has an elegant and modern style - I hope you'll take a peek at the other sets as well - they are available today! 

Thanks for stopping by!


Ideas, Supplies, Machines, Paper & More