


Splitcoast Tutorial: Topped Treat Bag + a DIY gusseted sack!
This week's tutorial is a fun and simple one - it's a Topped Treat Bag, with instructions for making a simple topper.
Our guest author had these adorable treat bags, and I... was snowed in and had a house full of sickies and no bags. So I had to improvise, as I often do, and I ended up making some cute little gusseted sacks! Here's what I did.

I started with a 12" sheet of patterned paper. This is from a pad I picked up on clearance at Walmart - it is lighter weight paper, and also has an extension above a dashed (but not perforated) line, so it's actually 12" x 12-3/4". I scored from the 12" side at 3", 3-1/2", 4", 8-1/4", 8-3/4", and 9-1/4".

Fold the scored lines into an M on both sides - these are the gussets!

You can cut the sheet in half (6-3/8" for me) to create 2 bags after scoring and folding.

Run a line of glue down one short side, and all the way along the bottom, near the edge...

...then fold up the sack so the gussets sit flat (make sure you fold in the glued side last!). Optionally, you can put a little glue at the bottom of the gussets as well.

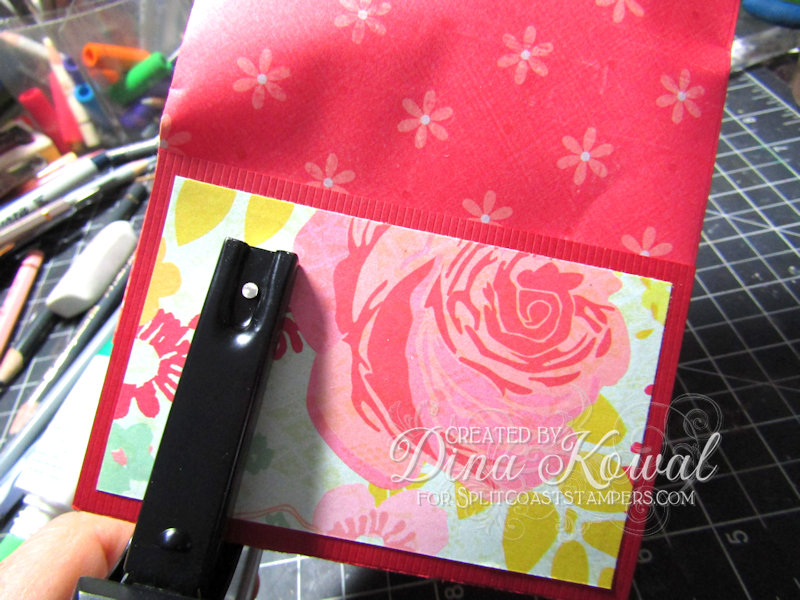
I created a topper from a quarter sheet of cardstock, and layered a piece of patterned paper (4" x 2-1/2") over it, then attached it to the sack with mini staples - you can see I have my stapler upside down - this puts the flat side of the staple on the back so nothing pokes out.
I layered my focal panel over that to cover the staples, and tied a little twine around the bag - my bags don't sit up like Becky's, but they'd be perfect for a big yummy cookie or something that lays flat.

This is a set from SugarPea Designs called Classroom Cupids - it has lots of mix and match sentiments and two-step images that are so cute. (Ohh - this set is retired, but there are a few left at a clearance price - if you love it, grab it!) Speaking of Sugar Pea Designs - they have a new release coming soon, and a giveaway on Instagram - check it out here!
Here's a closer look at my topper again - I stamped the bomb in grey, and did a little shading with colored pencils. Be sure to check out the tutorial for more tips and cuteness!


I'm guessing fireballs are in the bag!
ReplyDelete