
Thursday, August 18, 2011

Impression Obsession DT Challenge: Thanks for inviting us!

The Impression Obsession team's challenge today is to create a hostess gift, something to express gratitude for someone's hospitality. I have a bunch of these little baking soda tins, and thought it would be fun to alter one for a little hostess gift, along with a matching card. This is was such a quick and simple project! Here's the stamp I used (You're Special Border)... ...and the gift set:
Both images are colored using Touch Twin Markers - on the border I used the markers to blend with each other, and for the roses, I used rubbing alcohol to 'paint' the marker ink on with a brush. I scribbled some of the ink onto a plastic palette, then picked it up with a watercolor brush. It's a little tricky, because the alcohol evaporates so quickly... you have to work pretty fast! I also flicked some ink onto the panel while I had the ink on my wet brush.
Here's a closer look at the ribbon rose - I took about a yard of ribbon and machine stitched it loosely up one side, then pulled the ends of the thread to gather it tightly, and wrapped the gathered side around and around until it formed this little bundle. Not sure I did it right, but it's foofy and fun. :)

Be sure to check out these other designers' blogs for inspiration -

Daniela @ For the First Time
Jeanne @ Inky Paws
Julie @ Out to Impress
Kathy @ Watermelon Sugar
Laura @ Laura's Stamp Art Journal

Remember you can enter these challenges too, using your Impression Obsession stamps! See the I.O. blog for all the details - you might even win a $25 gift certificate!! We'd love to have you join us.

Thanks for stopping by!

Wednesday, August 17, 2011

Flower Soft Sprinkle Challenge: Stitching


This week's Sprinkle challenge over at the Flower Soft Forum (FSC34) is to use Flower Soft on your cards cards that feature stitching, real or faux. I created a little scene for Charlie (In the Air stamp set), and colored him in with Prismacolor pencils. I added some faux stitching with the perforating blade on my rotary cutter. I thought he might like to jump in his little puddle, so I added some Polar White Flower Soft for texture and a little extra splash (I used a white Souffle pen too). The sentiment I used is from The Cat's Pajamas.

If you'd like to join in on the Sprinkle challenge, pull out the Flower Soft - you might even win a prize! Post your project in the Splitcoast Gallery using the keywords flowersoft (one word) and FSC34. We'd love to have you join us!

Thanks for stopping by!

Monday, August 15, 2011

Announcements!

I have an announcement to share! Exclusive dkdesigns stamps are now also available through Sweet 'n Sassy Stamps! This is such a fun partnership, and I'm excited about what's ahead. This is my first set available through them, called Season of Change - I love the textured leaves, and was inspired by the thought that seasons change, and we go through seasons of change in life, but God never changes. The lyrics from the hymn Immortal, Invisible express that thought so perfectly. And another surprise - there will be DIES to coordinate with the leaf images! So excited about that.

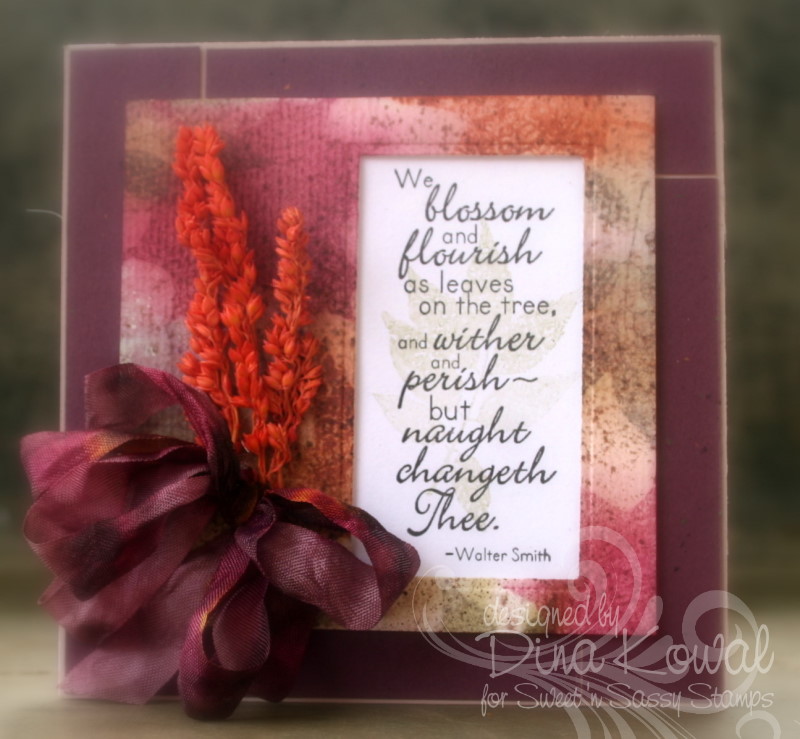
Here's a card I made with the set... I used the leaf stamps to create my background panel, stamping them in dye inks, then misting the panel to let the colors run and bleed, and adding some speckles with a blo-pen. There's a tutorial for this background technique HERE. I framed the sentiment in a die-cut rectangle, and employed my glue gun to attach the bow and dried flower sprigs.Little close-up on the background:
The ribbon is seam binding that I colored with Touch Twin Markers then spritzed with alcohol.
LinkAnother announcement is that Sweet 'n Sassy Stamps is Splitcoaststampers' newest Member Company! So that's exciting too - you can see all the new sets and even win prizes at their release party tonight in the new SNSS forum! Be sure to check that out! And while you're there....

If you're a Fan Club member over at SCS, the new Dirty Dozen gallery will be open today at 12:00 CST - we are so excited about this theme, and we hope it will inspire you too! If you're not a Fan Club member, you can find all the details HERE.

Such a busy and exciting day!

Thanks for stopping by!

Friday, August 12, 2011

Surprise!

Hambo Stamps has a special little funny place in my heart, as you may know... well, Monica is the owner of Hambo Stamps and tomorrow is her birthday!! A few of us got together and decided to throw a little surprise party for her, and we would like you to join us..... it's a birthday blog hop! The party starts at Jenn's blog - you'll want to start there so you don't miss anything.

If you arrived here from Libby's blog, you're doing great.

Every birthday has to have presents, and this one has one for you! One random hopper that completes the hop will receive a Hambo Birthday surprise! The winner will be announced at the Hambo Hoedown on Wednesday, August 17.
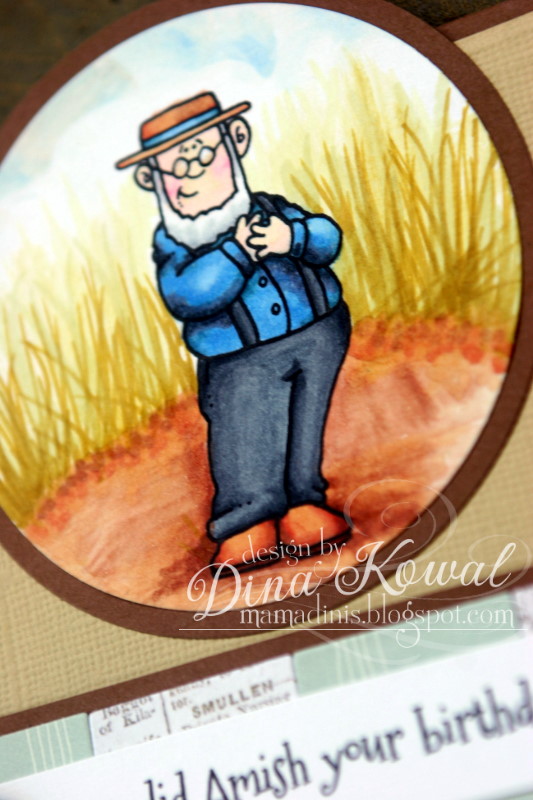
I absolutely cracked up when Tim presented this little Amish man as a digital stamp... had to have him... so he is making his blog debut here today. I created sentiments of my own, for a belated birthday card (even though it's early here... it just fit so well... I would probably even send it late on purpose!). The font I used is called Mountains of Christmas. I colored the image with Touch Twin Markers... did a little experimenting with applying the marker ink with a brush, scribbling it on a palette then using rubbing alcohol on my brush to lift the color... it was worth trying again! Just takes a little practice, since the alcohol evaporates very quickly!

And the inside:
Link
Now you're off to Karin's blog! Thanks for stopping by!
Thanks for stopping by!

Tuesday, August 09, 2011

Country Village

Always seem to be in need of a thank you card... here was a quick one using Flower Soft products - the Cobblestone paper and the main image are part of the Country Village Papercraft Kit. (This kit is also available as a printable download.) I cut a frame using a Spellbinders die, added Lemon, Meadow, and Citrus Crush Flower Soft, and finished off the card with a satin bow and a sentiment from Sweet 'n Sassy Stamps. Quick and easy!
The current Sprinkle Challenge over at SCS is to create a rectangular card... if you'd like to join in on the challenge, pull out the Flower Soft - you might even win a prize! Post your project in the Splitcoast Gallery by using the keywords flowersoft (one word) and FSC33. We'd love to have you join us!

Thanks for stopping by!

Sunday, August 07, 2011

Adding Dimension


I wanted to share a tutorial here that I shared last month on the Flourishes blog... I love to add dimension to my images, and it just takes a few simple tools and techniques. Floral images work great for this technique. I chose Orchids for my card, with a sentiment from Tag Lines. I watercolored the image using a variety of watercolor pencils and a water brush. The wooden button (threaded with a thin strip of paper) is a local product, and I embossed the lower panel with a Fiskars texture plate.

Here’s a closer look at the dimension on the focal image. That panel is a single layer, but I cut around some petals and added some dimension from the back side of the panel with the wooden end of my embossing stylus.
The red lines on the image below indicate where I cut the image so I could work with it. When you plan your cuts, make sure you aren’t cutting all the way around flowers, and when you cut around more than one petal, make sure your cuts are not too close together. Pay attention to your flowers – you’ll want to cut around petals which appear to be closer or on top of other petals, or a leaf that looks like it might be pointing towards you. (Don’t cut around a leaf if you’ve cut around the petal overlapping it! Ask me how I know.) For the orchid image, I cut around the side petals of each flower, and around one side of each of the buds.
Turn your image panel over, and lay it on a foam mat or other surface that has some ‘give,’ like a mouse pad. You’ll want to use a rounded tool or pen cap to emboss inside each curve that you’ve created with your craft knife. Rub back and forth inside the curve, and the paper will begin to break down and curl up toward you. I used the wooden end of my embossing stylus here; I’ve also used a Sakura gel pen and the end of a paintbrush. So long as it’s clean, smooth and rounded, it should work.
When you’ve finished embossing, turn your image back over, and press gently into your flower centers to bring those embossed areas back up. You may want to use foam tape to keep those areas raised when you adhere the panel to your card. When you do adhere your panel to your card, also make sure that you use glue or other adhesive *outside* the curves you’ve cut, so that your embossing is defined, and the other areas stay down against your card. Below, the red lines indicate where I applied glue, and the blue x indicates raised areas where I tucked in a roll of foam tape.Hope that all made sense!! If you’re inspired to add more dimension to your projects, leave a link here so I can see!

Thanks for stopping by!

Friday, August 05, 2011

Dare To Get Dirty - Country Church

I provided this country church card from Impression Obsession's latest release as a sample to help Anna Wight introduce her challenge theme. The image (Side Winter Church) is colored with Inktense pencils and blended with a water brush. I used Cover-a-Card Round Floral for the background panel.

Today is the last day of Dare To Get Dirty - it's been a fun week!! Did you play along?

Thanks for stopping by!

Thursday, August 04, 2011

Impression Obsession DT Challenge: Orange

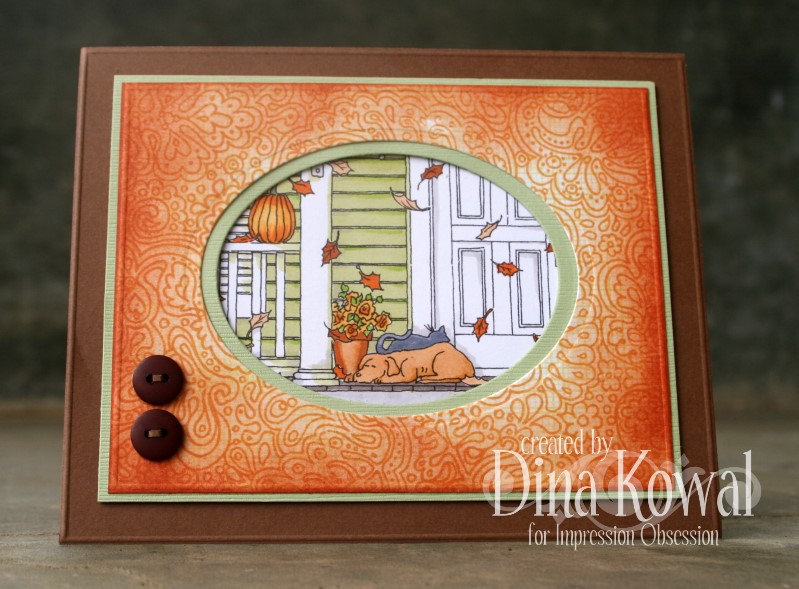
The Impression Obsession team's challenge today is to create a project using the color orange. Here's another of my CHA cards - I made the frame panel using Cover-a-Card Screen and Tapestry. Screen is stamped in Adirondack Willow ink, with Tapestry stamped and then sponged with Terra Cotta ink. The framed image is called Fall Porch and was colored with Touch Twin markers.

Be sure to check out these other designers' blogs for inspiration -

Daniela @ For the First Time
Jeanne @ Inky Paws
Jenny @ One Krafty Kat
Julie @ Out to Impress
Kathy @ Watermelon Sugar
Laura @ Laura's Stamp Art Journal

Remember you can enter these challenges too, using your Impression Obsession stamps! See the I.O. blog for all the details - you might even win a $25 gift certificate!! We'd love to have you join us.

And by the way, have you seen the new images? They are now in the I.O. online store!!

Thanks for stopping by!

Tuesday, August 02, 2011

tweaking...

I made some tweaks to my watermark site yesterday... I was getting tired of the blue, so I thought a new template and color scheme would be fun. I added a few more samples too, and still have more to add. You can click on the logo above to check it out!

Thanks for stopping by!

Dare To Get Dirty - my turn to host!

It's my turn to host a challenge for Dare To Get Dirty today! This is the sample for my challenge - if you're a fan club member, you can find all the details at SCS!!
The fun thing (to me, anyway!) about this card is that I drew the cupcake image! It's available in my etsy store as a digital stamp set, including the background, which can be resized and repeated in whatever dimensions you need. So fun! I colored my images with Touch Twin markers, and added Flower Soft and glitter to my cupcake top. The sentiment is from Sweet 'n Sassy Stamps.
Here's a peek at the digi set!
Hope you'll come play with us!

Thanks for stopping by!