


Splitcoast Tutorial: Pencil Monochrome
It's my turn to share a tutorial over on Splitcoast, and I chose a Pencil Monochrome technique - seems like I've been getting a lot of questions about pencils lately, and one intrigued me - "For pencil shading, it's often recommended to have 3 shades of a color: dark, medium, and light. What if you only have a medium shade?" So today's tutorial shows how to work with minimal colors to achieve a variety of shades. I just used 2 pencils to color each of these 2 cards! By varying pressure, I was able to control the depth of color.

This adorable bunny set is from The Cat's Pajamas - it's called Joyride.

I mentioned a few specific products in the tutorial, so I'll share those here.
My favorite sharpener is the Kutsuwa Stad T'Gaal Pencil Sharpener - the dial on the sharpener controls the length of the pencil tip. If the pencils you use tend to break frequently, you'll love the shortest setting (#1)! It's the one I use the most. Love this sharpener.
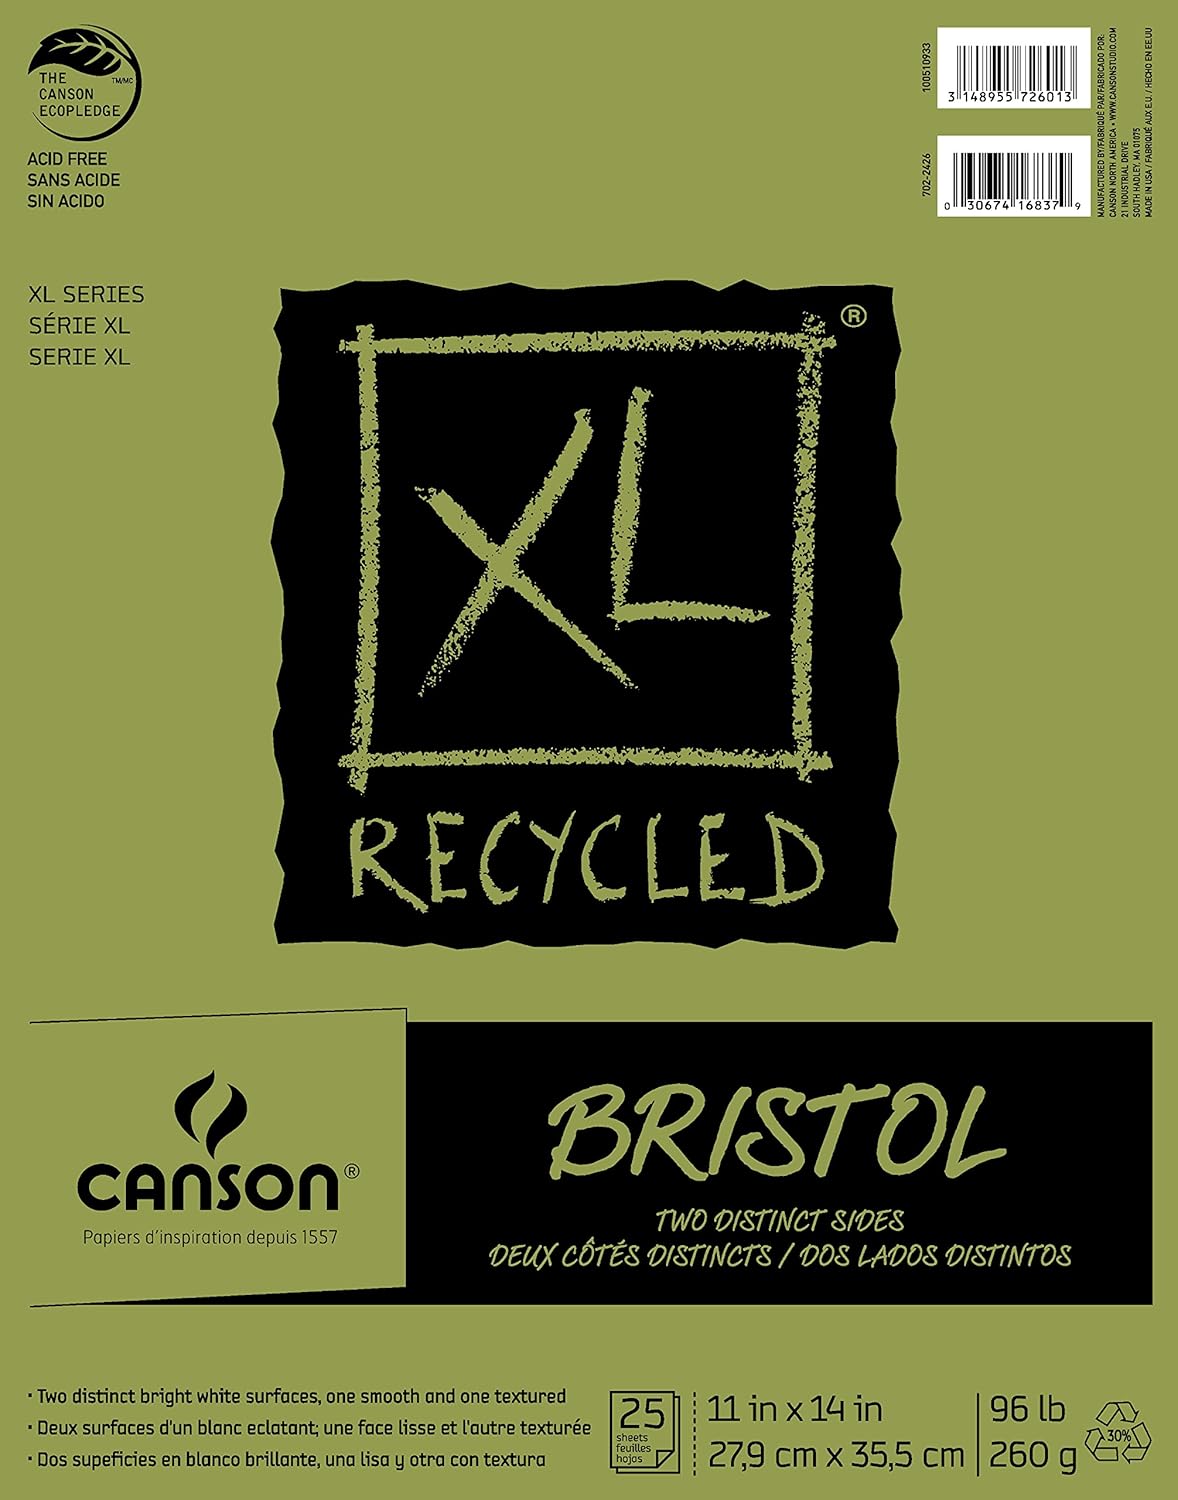
This is the paper that I recommend for colored pencil - Canson XL Recycled Bristol. This particular pad has a smooth finish on one side of the paper and a "vellum" toothy finish on the other. The toothy side is the one I prefer, but if you're not sure, you've got both options to experiment with.
For burnishing pencils, there are a few options. Prismacolor makes a blender called the Prismacolor Colorless Blender. It's soft and waxy, much like their pencil line - it's the one I used in the video because I had one handy. Lyra also makes a blender called the Lyra Splender Colorless Blender that can be used with wax- or oil-based pencils. I have this one and I really like it - it blends smoothly and feels more dry/firm and less waxy than than Prismacolor blender. Derwent sells a set called the Derwent Burnisher and Blender Set - those are actually not that different, and also sold separately - they work really well too. You can also use lighter colored pencils to burnish - they will add a little of their own tone to your work, so you might want to test them on another paper first.
If you're looking for more pencil resources, I have several blog posts comparing brands and their properties - you can find them all by clicking HERE. If you'd like to learn more about coloring with pencils (like everything I know!) I'd love to invite you to take one of my online pencil courses!
Thanks for stopping by today! xoxo


Thanks so much for all the tips in this post! Your cards are beautiful! I look forward to heading over to SCS for the tutorial. I struggle so much with pencil sharpners. I am headed over to amazon to buy mine now!
ReplyDeleteLovely cards! I would love to try this technique with my pencils. It sounds like a good thing to try for beginners.
ReplyDeleteI was taught to not use the colorless blender because you really can't go back in with more color on top of it. I was shown to use the white prismacolor pencil to blend, again using varying degrees of pressure for the outcome you desire. I often use all of the color shades, and then I go back in with the lightest one to blend it all together. I love how you only used 2 pencils per card. As always, your techiques, helpful hints, artistry and designs amaze me.
ReplyDelete